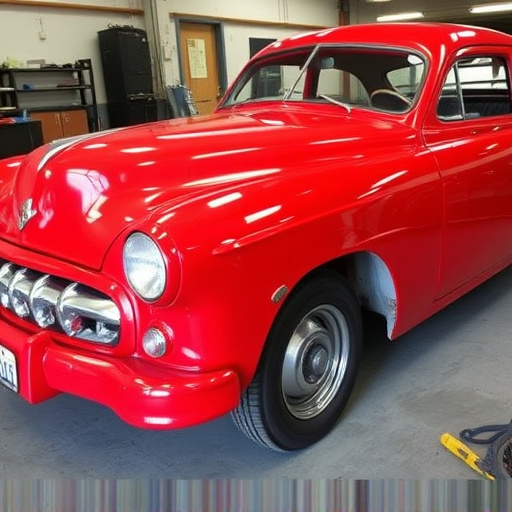


Tesla's Multi-Computer Unit (MCU), the car's digital brain, is crucial for driver interface and vehicle functionality. In case of collision, prompt and precise MCU repair is essential to prevent data corruption, hardware failures, and software glitches that can affect responsiveness and safety features. Specialized tools and expertise from EV-focused collision repair shops are needed to demount, inspect, clean, test, and calibrate the MCU, ensuring optimal performance and access to all driver interface features after repair.
In the event of a collision, restoring access to a Tesla’s driver interface is crucial for safety and convenience. The Model Control Unit (MCU) acts as the brain of the vehicle, controlling various functions including display, navigation, and controls. Damage from a crash can disrupt these systems. This article guides you through understanding the Tesla MCU, its role in the driver interface, the impact of collisions, and offers a step-by-step repair guide for restoring access after an accident, focusing on efficient Tesla MCU repair after collision.
- Understanding Tesla's MCU and Its Role in the Driver Interface
- The Impact of a Collision on the MCU and Potential Damage
- Step-by-Step Guide to Repairing a Tesla MCU After a Collision
Understanding Tesla's MCU and Its Role in the Driver Interface
Tesla’s MCU (Multi-Computer Unit) is a central nervous system for the vehicle, managing various functions including the driver interface. It acts as the brain behind the car’s digital operations, ensuring seamless communication between the vehicle and its user. When a collision occurs, the MCU can be affected, leading to potential issues with the driver interface, such as display malfunctions or inaccessible controls. Proper Tesla MCU repair after collision is crucial for restoring these critical functions.
In the event of an accident, especially involving auto body painting or auto frame repair, it’s important to address the MCU promptly. Skilled technicians employ specialized diagnostic tools to assess and repair any damage, ensuring the MCU operates at peak performance. This meticulous process involves precise calibration and reprogramming to reestablish the connection between the vehicle’s hardware and software, allowing drivers to regain full access to their vehicles’ driver interface features.
The Impact of a Collision on the MCU and Potential Damage

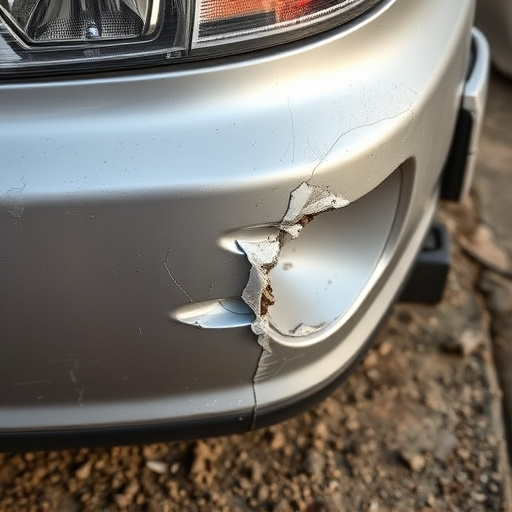
A collision can significantly impact a Tesla’s onboard computer system, specifically the MCU (Modular Computer Unit). The MCU is responsible for controlling and integrating various functions within the vehicle, including the driver interface. In the event of a crash, this critical component may suffer internal damage that can lead to malfunction or even complete failure. Potential issues include but are not limited to data corruption, hardware failures, or software glitches that hinder the MCU’s ability to process information accurately.
Such damage could result in a range of problems for the driver, from a completely unresponsive interface to erratic behavior such as frozen screens, incorrect sensor readings, and even loss of critical vehicle functions. Given the intricate nature of modern vehicle systems, proper Tesla MCU repair after collision is essential to ensure not only optimal performance but also safety while driving. Therefore, seeking services from a reputable collision repair shop specializing in electric vehicles is crucial for restoring full access to the driver interface and overall vehicle functionality.
Step-by-Step Guide to Repairing a Tesla MCU After a Collision

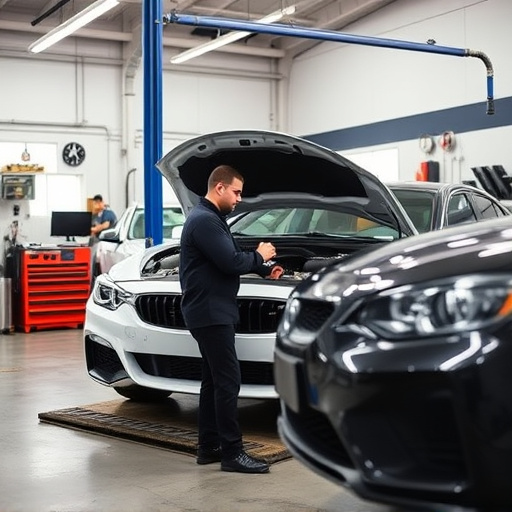
Repairing a Tesla MCU (Multi-Computer Unit) after a collision is a delicate process that requires precision and knowledge. As the MCU is the brain of the vehicle, its restoration is crucial for driver interface access and overall functionality. Here’s a step-by-step guide to navigate this process effectively:
1. Assess the Damage: Begin by inspecting the MCU for any visible signs of impact or cracks. Often, a collision can cause internal damage that may not be immediately apparent. If necessary, consult with an auto detailing expert or Tesla-certified technician to evaluate the extent of the damage. Remember, proper diagnosis is key to successful repair.
2. Safety First: Ensure your workspace is well-lit and organized before starting any repairs. Disconnect the battery to prevent short circuits and electrical hazards. With safety measures in place, you can proceed with confidence.
3. Demounting and Inspection: Carefully demount the MCU from the vehicle, taking note of its original positioning and connections. Inspect for loose components, damaged wiring, or any debris that may have entered the system during the collision. This step demands meticulous attention to detail.
4. Cleaning and Testing: Clean the MCU thoroughly using specialized automotive cleaning agents, ensuring no contaminants remain. Next, test each component and connection individually to identify and rectify any issues.
5. Replacement (if necessary): If any critical components are beyond repair or damaged beyond functionality, source genuine Tesla replacement parts for a seamless fit. Car bodywork services can help in patching or replacing external dents and scratches, ensuring the MCU is not further compromised.
6. Reassembly and Calibration: Once all repairs and replacements are made, carefully reassemble the MCU, reconnecting it to the vehicle’s system. Calibration is essential to ensure the driver interface functions correctly post-repair.
7. Final Testing: After reassembling, conduct comprehensive testing to verify every function of the MCU. This includes checking displays, sensors, and control systems for optimal performance.
After a collision, restoring access to a Tesla’s driver interface through MCU repair is crucial for safe and effective vehicle operation. By understanding the MCU’s role and implementing a meticulous repair process, owners can ensure their vehicles return to their full capabilities. This guide offers a practical step-by-step approach to tackling Tesla MCU repairs post-collision, emphasizing the importance of precision and expertise in navigating this complex component’s restoration.