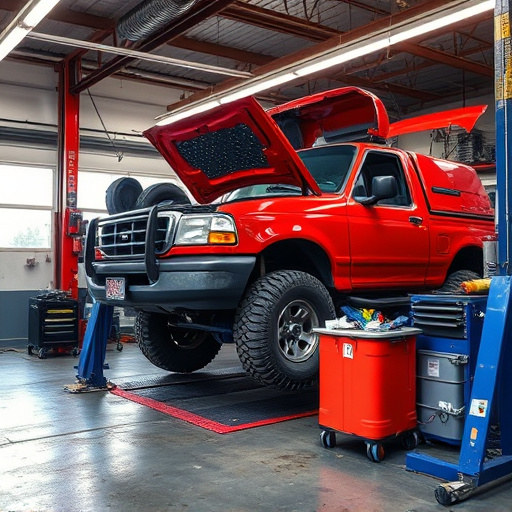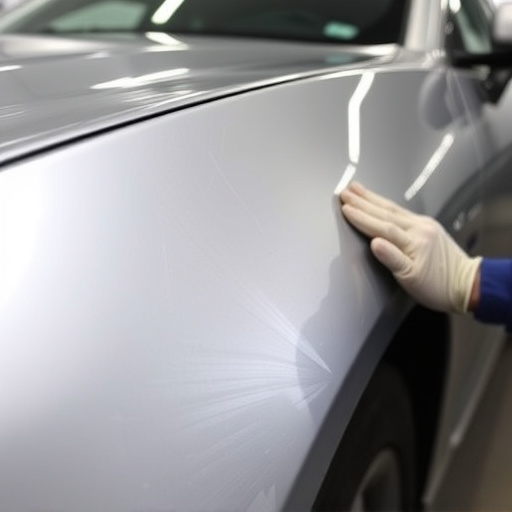

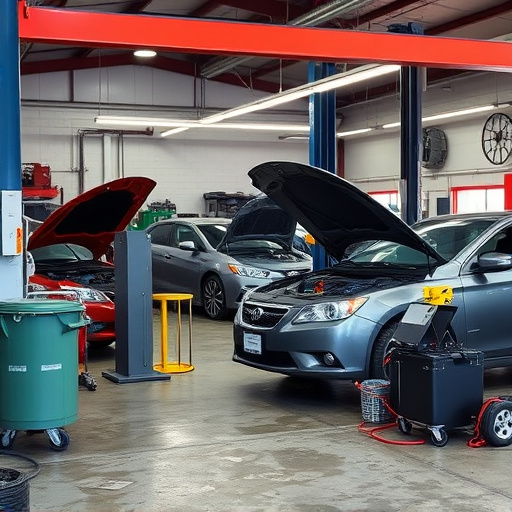


Tesla MCU repair after collision involves careful assessment of damage, especially internal harm, and safe disassembly to inspect and test the unit. Skilled technicians use advanced tools for diagnosis, conducting repairs or replacements based on severity. This meticulous process ensures proper restoration of vehicle functionality, including infotainment, navigation, and climate control systems, prioritizing safety and optimal performance.
Experiencing a frozen or black screen on your Tesla after a collision can be alarming. This issue often stems from damage to the Model Control Unit (MCU), a central processing hub vital for vehicle functions. Understanding the Tesla MCU, its location, and how to diagnose post-collision is crucial for effective repair. This guide provides a step-by-step approach to fixing your Tesla’s MCU, ensuring safe and reliable operation after an accident. Learn how to navigate this process, from diagnosis to replacement, for optimal Tesla MCU repair after collision.
- Understanding Tesla MCU: Function and Location
- Diagnosing Frozen or Black Screens After Collision
- Step-by-Step Guide to MCU Repair for Tesla Vehicles
Understanding Tesla MCU: Function and Location
The Tesla MCU (Modular Computer Unit) is a critical component within the vehicle’s system, responsible for managing and controlling various functions such as infotainment, navigation, climate control, and vehicle diagnostics. It acts as the brain of the car, facilitating communication between different modules and ensuring optimal performance. Located in the central control module, typically under the dashboard, the MCU is designed to be compact yet powerful.
When a collision occurs, the Tesla MCU may suffer damage, leading to issues like frozen or black screens. Proper understanding of its function and location is essential for effective Tesla MCU repair after collision. Skilled technicians employ advanced diagnostic tools to assess the extent of the harm, ensuring that any repairs are conducted meticulously to prevent further complications. This process often involves either replacing the MCU or repairing it, depending on the severity of the damage—a key aspect in restoring the vehicle’s functionality, especially in terms of modern automotive body work and specialized techniques like paintless dent repair.
Diagnosing Frozen or Black Screens After Collision

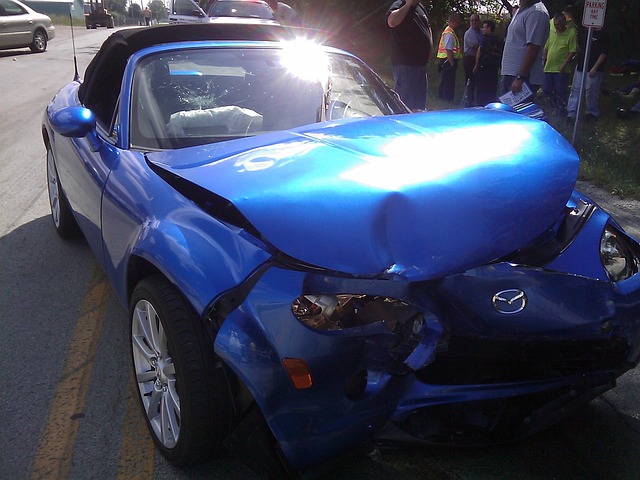
After a collision, Tesla vehicles may present frozen or black screens, indicating a potential issue with the Model Control Unit (MCU), the car’s brain responsible for processing and displaying information on the dashboard and center console. Diagnosing this problem requires careful inspection and specialized tools to pinpoint the exact cause, which could range from hardware damage to software glitches.
In many cases, Tesla MCU repair after collision involves a systematic approach. An experienced auto body shop or collision repair shop will start by assessing external and internal damage using diagnostic equipment. They may check for loose connections, damaged wires, or faulty sensors that could be contributing factors to the frozen or black screens. If the issue is software-related, advanced tools can help retrieve and analyze data logs to identify the root cause, ensuring proper car body restoration and a seamless return to safe, efficient driving.
Step-by-Step Guide to MCU Repair for Tesla Vehicles
Repairing a Tesla’s MCU (Multi-Computer Unit) after a collision is a specialized process that requires careful attention to detail. Here’s a step-by-step guide for restorers and fleet repair services:
1. Assess the Damage: Begin by meticulously inspecting the vehicle for any signs of damage, especially around the dashboard and frame. A collision can cause internal harm to the MCU, so it’s crucial to identify any cracks or disconnections before proceeding.
2. Safety First: With power sources disconnected, ensure the vehicle is safe to work on. Unplug all electrical connections leading to the MCU to prevent short circuits or unexpected behavior during repair.
3. Demount and Remove: Carefully demount the dashboard components that cover the MCU. This process may involve detaching sensors, cameras, and display panels. Once exposed, gently remove the faulty MCU from its housing, taking note of any connectors or cables attached.
4. Inspect and Test: Examine the MCU for physical damage and check it against known-good units to identify defects. Advanced diagnostic tools can also be used to run tests and determine if the issue is hardware-related.
5. Replace or Repair: If the MCU is beyond repair, install a new one, ensuring proper compatibility. For minor issues like frozen screens or blackouts, specialized repair techniques may be applied to restore functionality without replacing the entire unit.
6. Reassembly and Calibration: After repairing or replacing, carefully reassemble the dashboard components, ensuring all connections are secure. Calibration is often required to match the vehicle’s system settings with the new MCU, ensuring optimal performance.
After a collision, a frozen or black screen in your Tesla can be a concerning issue. However, with a thorough understanding of the Tesla MCU (Central Control Unit) and a structured approach to repair, it is feasible to restore your vehicle’s functionality. By following the step-by-step guide provided, you can effectively diagnose and fix the MCU, ensuring your Tesla returns to its pre-collision condition. Remember, prompt action after a collision is crucial for optimal results in repairing your Tesla MCU.